
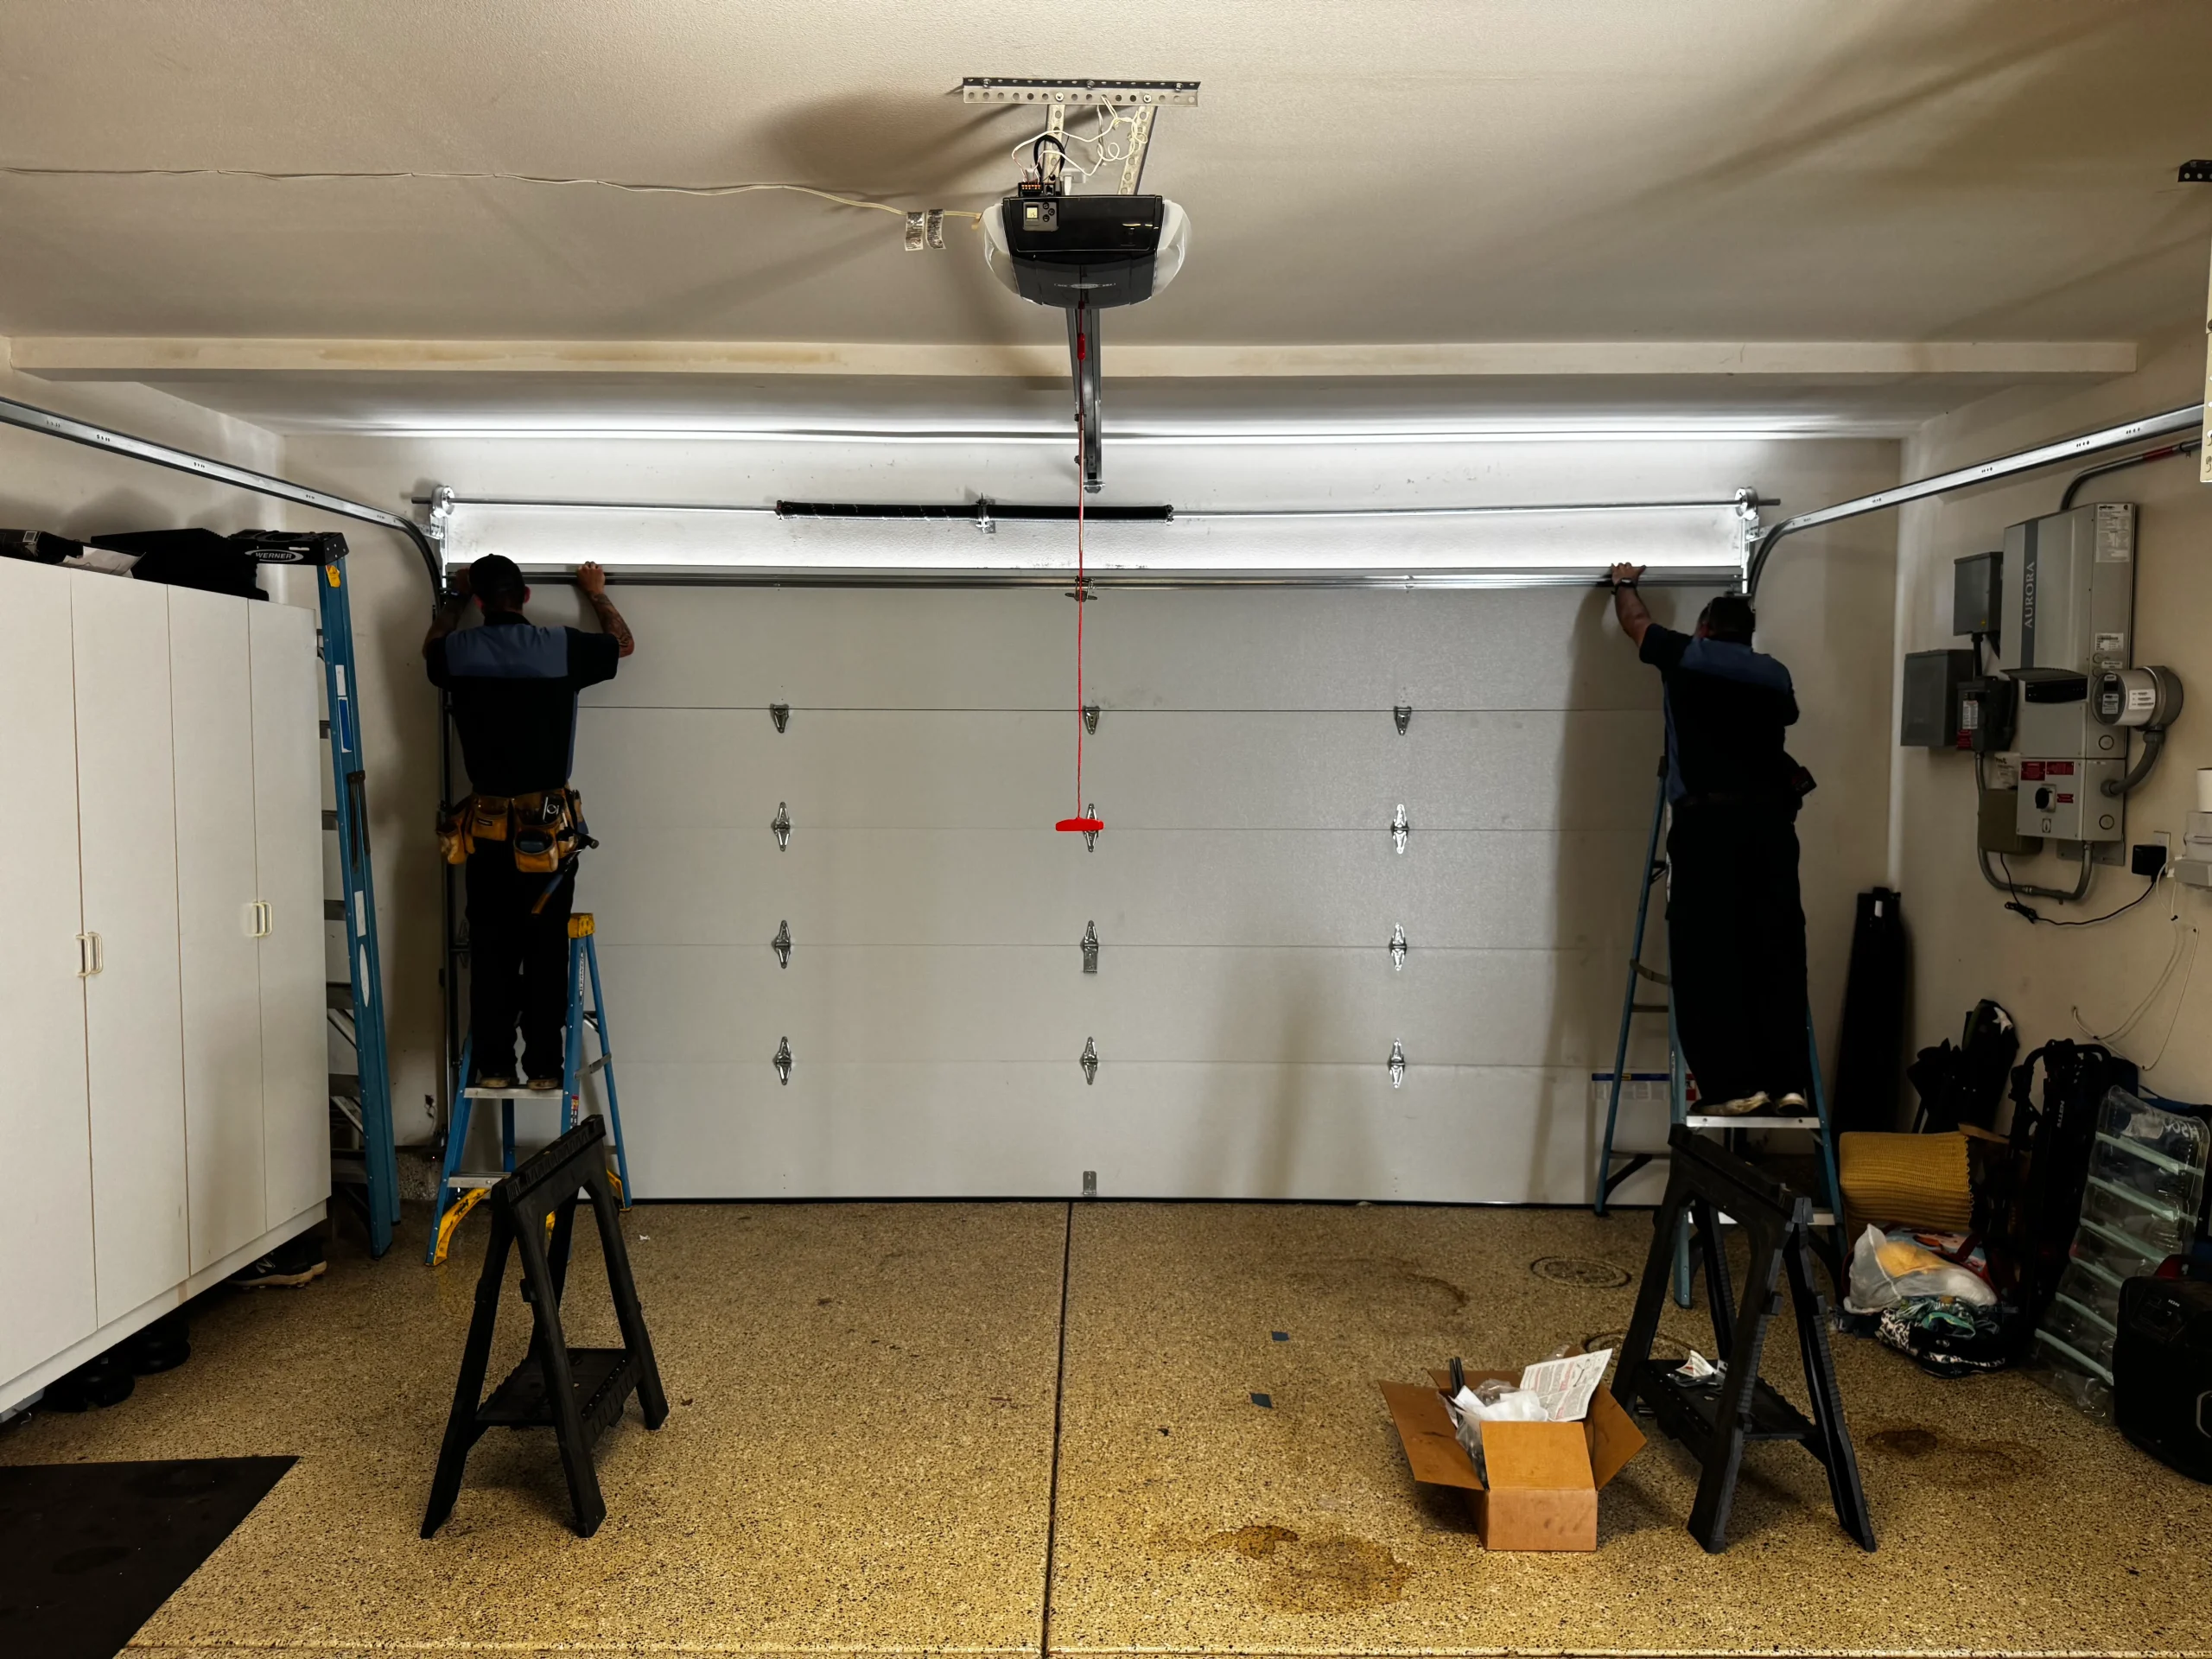
Garage door replacement typically involves an inspection, removal of the old door, installation of the new system, and a final safety check before the crew leaves. Each stage plays a specific role in the outcome, and knowing what happens at every step removes much of the uncertainty homeowners feel going into the project.
The process moves through distinct phases, from preparing the space beforehand to testing the new door’s balance and sensors once installation wraps up. This guide walks through each stage in order, giving a full picture of the experience from the moment a replacement is scheduled to the point the new door is ready for daily use.
When Does a Garage Door Need to Be Replaced?
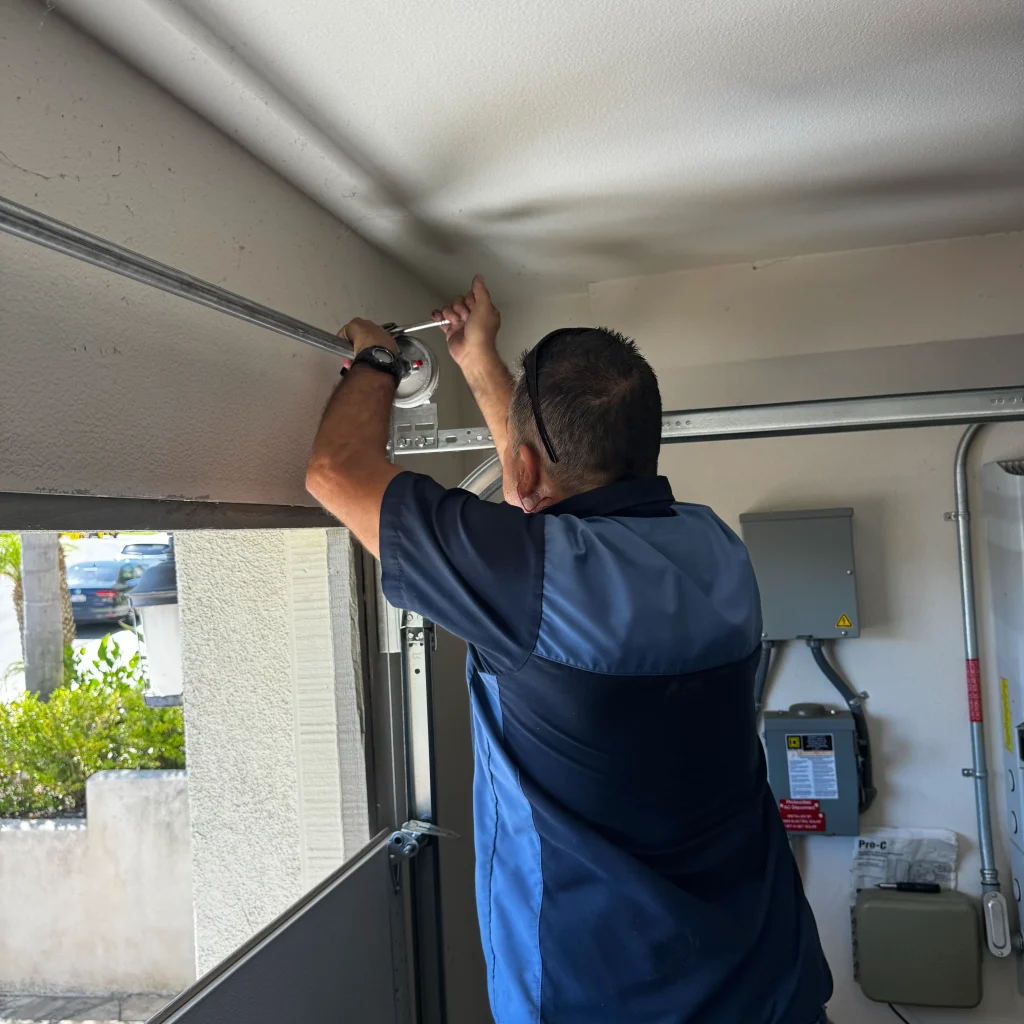
A garage door signals it needs replacement through a mix of mechanical strain, visible damage, and repairs that no longer solve the root problem, and recognizing these signals early helps avoid a sudden, complete breakdown.
Common signs a garage door has reached this point include:
- Opens and closes at an inconsistent or jerky speed
- Panels showing dents, cracks, or water damage along the frame
- A noticeably heavier lift than what the door once required
- Repeated repairs on the same components without lasting results
- Missing insulation or safety features found on newer models
To understand how these warning signs point toward full replacement, read our guide on What Causes the Need for Garage Door Replacement?, which breaks down the most common reasons doors reach this stage.
When to Call a Professional for Garage Door Replacement
A garage door replacement often requires professional handling once the issue involves major components or safety systems rather than simple adjustments.
Situations that call for a professional include:
- Torsion springs that are stretched, broken, or making unusual noises
- A door that has come off its tracks or sits visibly misaligned
- An opener that no longer responds to remote or wall controls
- Cables appearing frayed, loose, or disconnected from the drum
- Panels with structural damage affecting the surrounding frame
To recognize when these mechanical issues call for full replacement rather than another repair, read our guide on When Should a Garage Door Be Replaced?, which breaks down how to weigh professional replacement against ongoing repairs.
How to Prepare for a Garage Door Replacement
A garage door replacement goes more smoothly when the workspace is cleared and key details are ready before the crew arrives.
Steps that help the process go smoothly include:
- Moving vehicles and stored items away from the garage entrance
- Confirming the make and model of the current opener, if known
- Deciding on material or style preferences, such as custom garage doors or insulated panels
- Reviewing warranty coverage for parts and labor ahead of time
- Setting aside a preferred timeline for completing the project
To compare the options available before making a material decision, read our guide on Best Materials for Garage Door Replacement, which breaks down the differences between steel, wood, fiberglass, and vinyl doors.
How Long Does Garage Door Replacement Take?
Garage door replacement usually takes a few hours to complete, though the exact timeframe shifts based on a few key factors.
Elements that influence how long the project takes include:
- A larger or heavier door requiring more time to mount and balance correctly
- Replacing the opener alongside the door, which adds wiring and sensor calibration
- Existing tracks or framing needing repair before new components can go in
- Additional features like insulation or smart openers extending the installation steps
- Custom garage doors sometimes requiring extra fitting time compared to standard sizes
Knowing these factors ahead of time helps set a realistic expectation for scheduling the project around a busy day.
What to Expect During the Garage Door Replacement Process
Site Preparation
Open access to the garage and driveway becomes the priority before any tools or materials come out of the truck.
Steps that typically happen during this stage include:
- Vehicles and driveway items moved several feet from the door frame
- Power to the old opener switched off before disassembly starts
- Tools and new panels staged near the garage entrance
- Walkways checked to confirm the crew has a clear path to work
- Homeowners informed of the general timeline before work begins
Clearing this space ahead of time keeps the entire project moving without unnecessary pauses along the way.
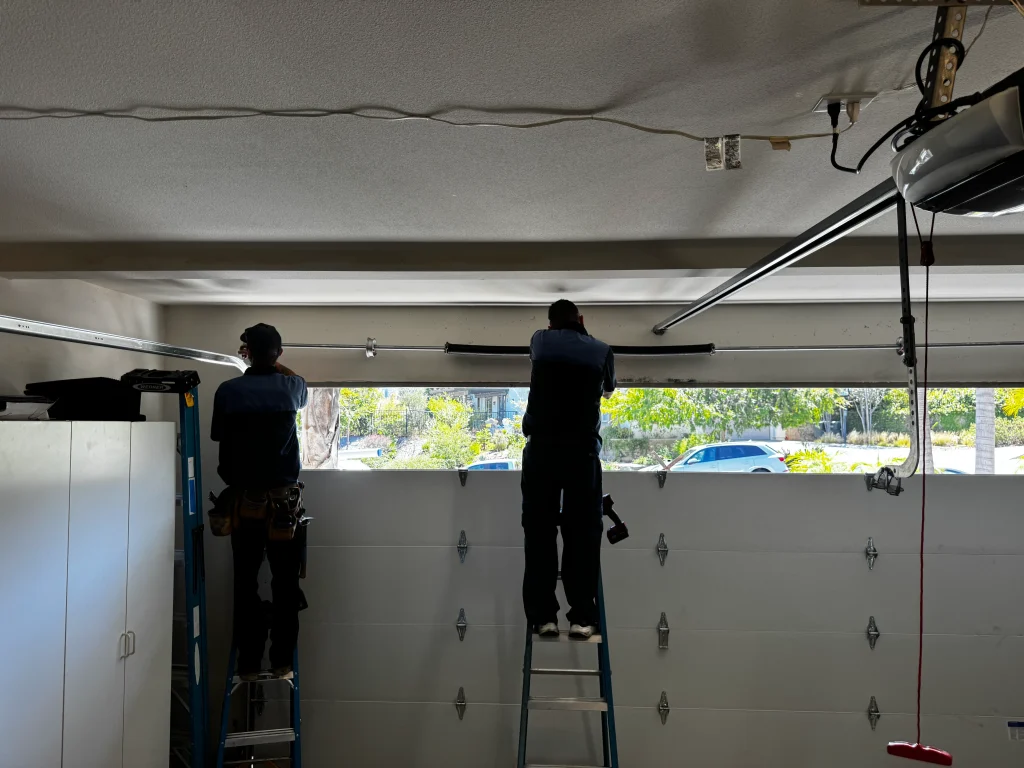
Removal of the Old Door
Taking down the old system starts with releasing spring tension, since this step controls how safely the rest of the teardown proceeds.
What removal generally looks like includes:
- Cables and springs checked for tension before any panel moves
- The door clamped in place to prevent sudden shifting
- Panels detached one at a time starting from the top
- Old tracks unbolted and separated from the frame
- Hardware sorted for reuse, recycling, or disposal
This stage marks the point where garage door repair is no longer the goal, and controlled disassembly keeps each component moving in the right order.
Framing and Track Installation
Frame condition and track alignment shape how the new door performs long after the crew has packed up and left.
This stage typically covers:
- The frame inspected for rot, rust, or structural weakness
- Damaged sections repaired before new tracks go in
- New tracks measured and positioned along both sides
- Brackets secured to hold the track system firmly in place
- Alignment tested with a level before panels are added
Level tracks paired with a solid frame give the entire system a steady foundation to operate from.
Mounting the New Garage Door
Each new panel goes on in sequence, checked for a proper fit before the next section follows behind it.
Mounting generally includes:
- The bottom panel set first to establish a level base
- Remaining panels stacked and connected in order
- Rollers attached to guide movement smoothly along the track
- New springs installed to carry the door’s total weight
- Cables connected and tested for even tension on both sides
Balanced movement across every panel is the clearest sign that this stage of the garage door installation went as planned.
Opener Setup and Calibration
Sensor alignment and programming round out the mechanical side of the installation once the door itself is in place.
Calibration typically involves:
- The opener mounted and wired to the door system
- Sensor placement checked on both sides of the track
- Remote controls and wall switches programmed to the unit
- Auto-reverse function tested against a physical obstruction
- Travel limits adjusted so the door stops at the correct points
These checks mirror much of what happens during routine garage door maintenance, leaving the finished system ready for daily use.
Haul-Away of Old Materials
Cleanup after installation wraps up the visible part of the project once the new door is fully operational.
Haul-away typically covers:
- Old panels removed and loaded for disposal
- Springs, cables, and hardware collected from the work area
- Packaging from the new door cleared from the driveway
- The garage floor swept before the crew leaves
- A final check made to confirm nothing was left behind
Reviewing these terms with the installer beforehand keeps this final stage of the project free of any last-minute confusion.
What to Check After a Garage Door Replacement Is Complete
A quick walkthrough after installation confirms the new system operates the way it should before the crew leaves for the day.
Items worth checking at this stage include:
- Smooth, even movement with no jerking or grinding sounds
- Consistent panel alignment with no visible gaps
- Sensors that stop the door when an object blocks its path
- Auto-reverse engaging properly if the door meets resistance while closing
- Remote controls and wall switches responding without delay
Confirming these details before the crew leaves helps catch any adjustments early, giving the new system a proper start from day one.
What to Do if Something Goes Wrong After Replacement
Occasional issues can surface even after a professional installation, and knowing the right steps to take makes the process easier to manage.
Helpful actions to take if a problem comes up include:
- Reviewing the warranty paperwork for coverage on parts and labor
- Documenting the issue with photos or a brief description
- Contacting the installer directly rather than attempting further adjustments
- Checking whether the issue falls within the original service agreement
- Scheduling a follow-up visit as soon as the problem is noticed
Keeping this information organized speeds up any follow-up visit and takes much of the stress out of resolving the issue.
How to Maintain a Garage Door After Replacement
A little routine attention after installation goes a long way toward keeping a new garage door running smoothly for years to come.
Habits that support long-term performance include:
- Listening for new or unusual sounds during regular use
- Keeping tracks and rollers free of dirt and debris
- Testing the auto-reverse safety feature every few months
- Scheduling periodic inspections to catch wear on springs and cables
- Keeping opener batteries and programming up to date
Building these habits into a regular seasonal routine helps the door continue holding up well for years after installation.
Turn to Experts for a Garage Door Replacement That Lasts
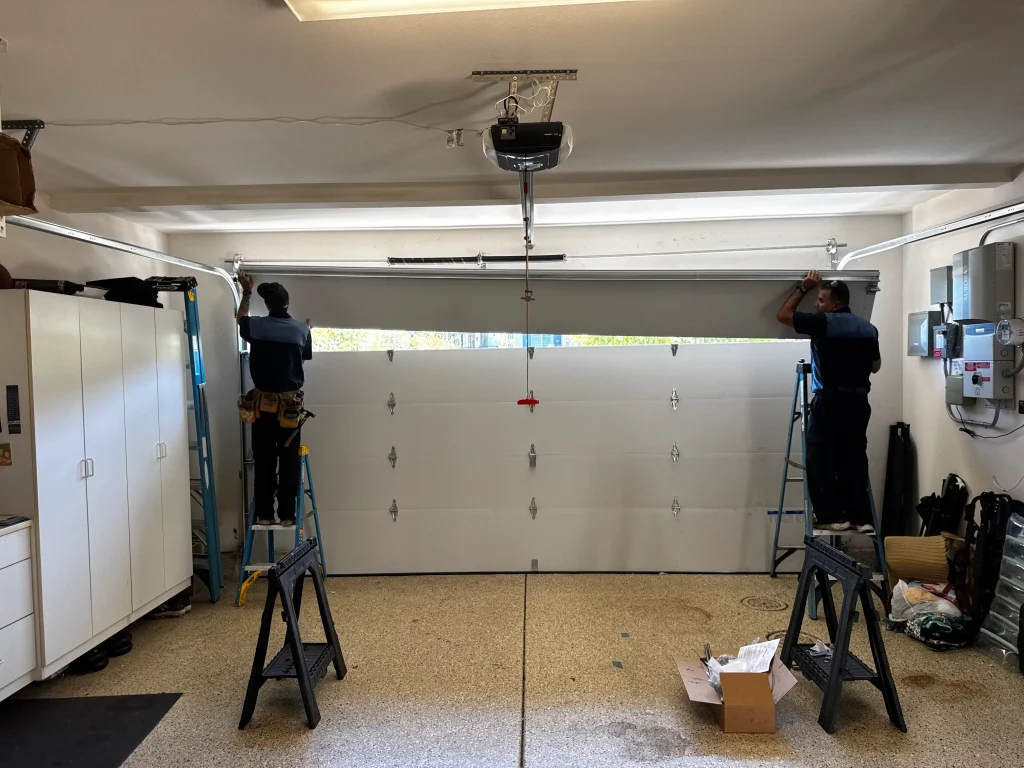
A garage door replacement moves through several distinct stages, and knowing each one in advance helps the whole project feel far more manageable overall. Each stage plays its own specific part, and understanding them ahead of time sets clear expectations for what the finished result should truly look like.
ADS Garage Doors & Gates has years of experience guiding San Diego homeowners through every stage of this replacement process, from material selection to final opener calibration. Contact us or give us a call today, and let our team walk through what a replacement would look like for your home overall.